
In this blog post, we’ll explore the world of Smart Beads and how to finish your necklaces made with beading chain.
What is Beading Chain?
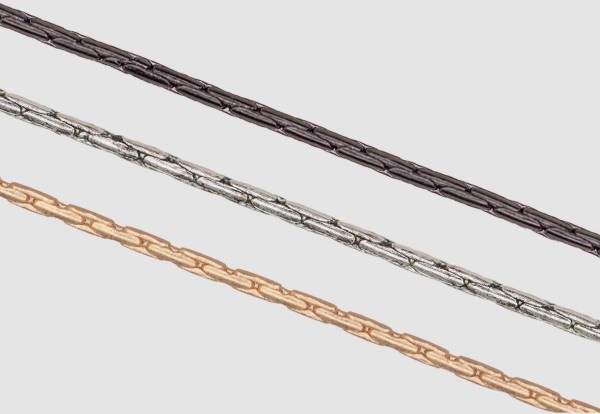
Beading chain is a fine chain with small & closely connected links allowing you string beads onto it. Beading chain is great if you want a necklace with the beauty of chain, that can accommodate stringing beads on it. It is great to use when you want to show some of the chain, rather than have the entire necklace filled with beads. We carry beading chain with 0.7mm diameter and 1.25mm diameter, in various finishes, all nickel-free hypoallergenic plated, good for most people with sensitive skin.
The 0.7mm diameter beading chain can accommodate most glass beads, gemstone beads, & other style beads (but not most pearls, as they have very small hole sizes). The 0.7mm beading chain is finished with fold over cord ends.

In 1.25mm, we have antique brass, silver plated, & satin gold and works with larger hole beads. Many beads have 1mm hole sizes (or less), so those would only work with 0.7mm beading chain. The 1.25mm beading chain is finished with 2mm cord ends, then attach a clasp, which we explain how to do below.

What are Smart Beads?

Smart beads, as their name suggests, are a brilliant addition to your jewelry-making toolkit. Smart beads allow you to adjust the length of your necklace! You can slide them along the chain or cord, making on-the-fly adjustments to achieve the perfect fit. The silicone grip keeps the bead securely in place, granting you full control over the final look and fit of your creation.
Smart beads come in two sizes: 3mm and 4mm. The 3mm smart bead is ideally suited for use with 0.7mm beading chain while the 4mm smart bead pairs beautifully with 1.25mm beading chain. We carry the 3mm Smart Bead in two nickel-free plated finishes: Antique Silver and Satin Gold. We carry the 4mm Smart Bead in nickel-free silver plated and nickel-free satin gold plated. The samples are shown in the picture above.
In addition to beading chain, Smart Beads are compatible with a range of other materials like chains, leather cords, and cotton cording of similar size. For example, the 3mm smart bead can be used with 0.5mm leather and the 4mm smart bead can be used with 1.5mm leather.

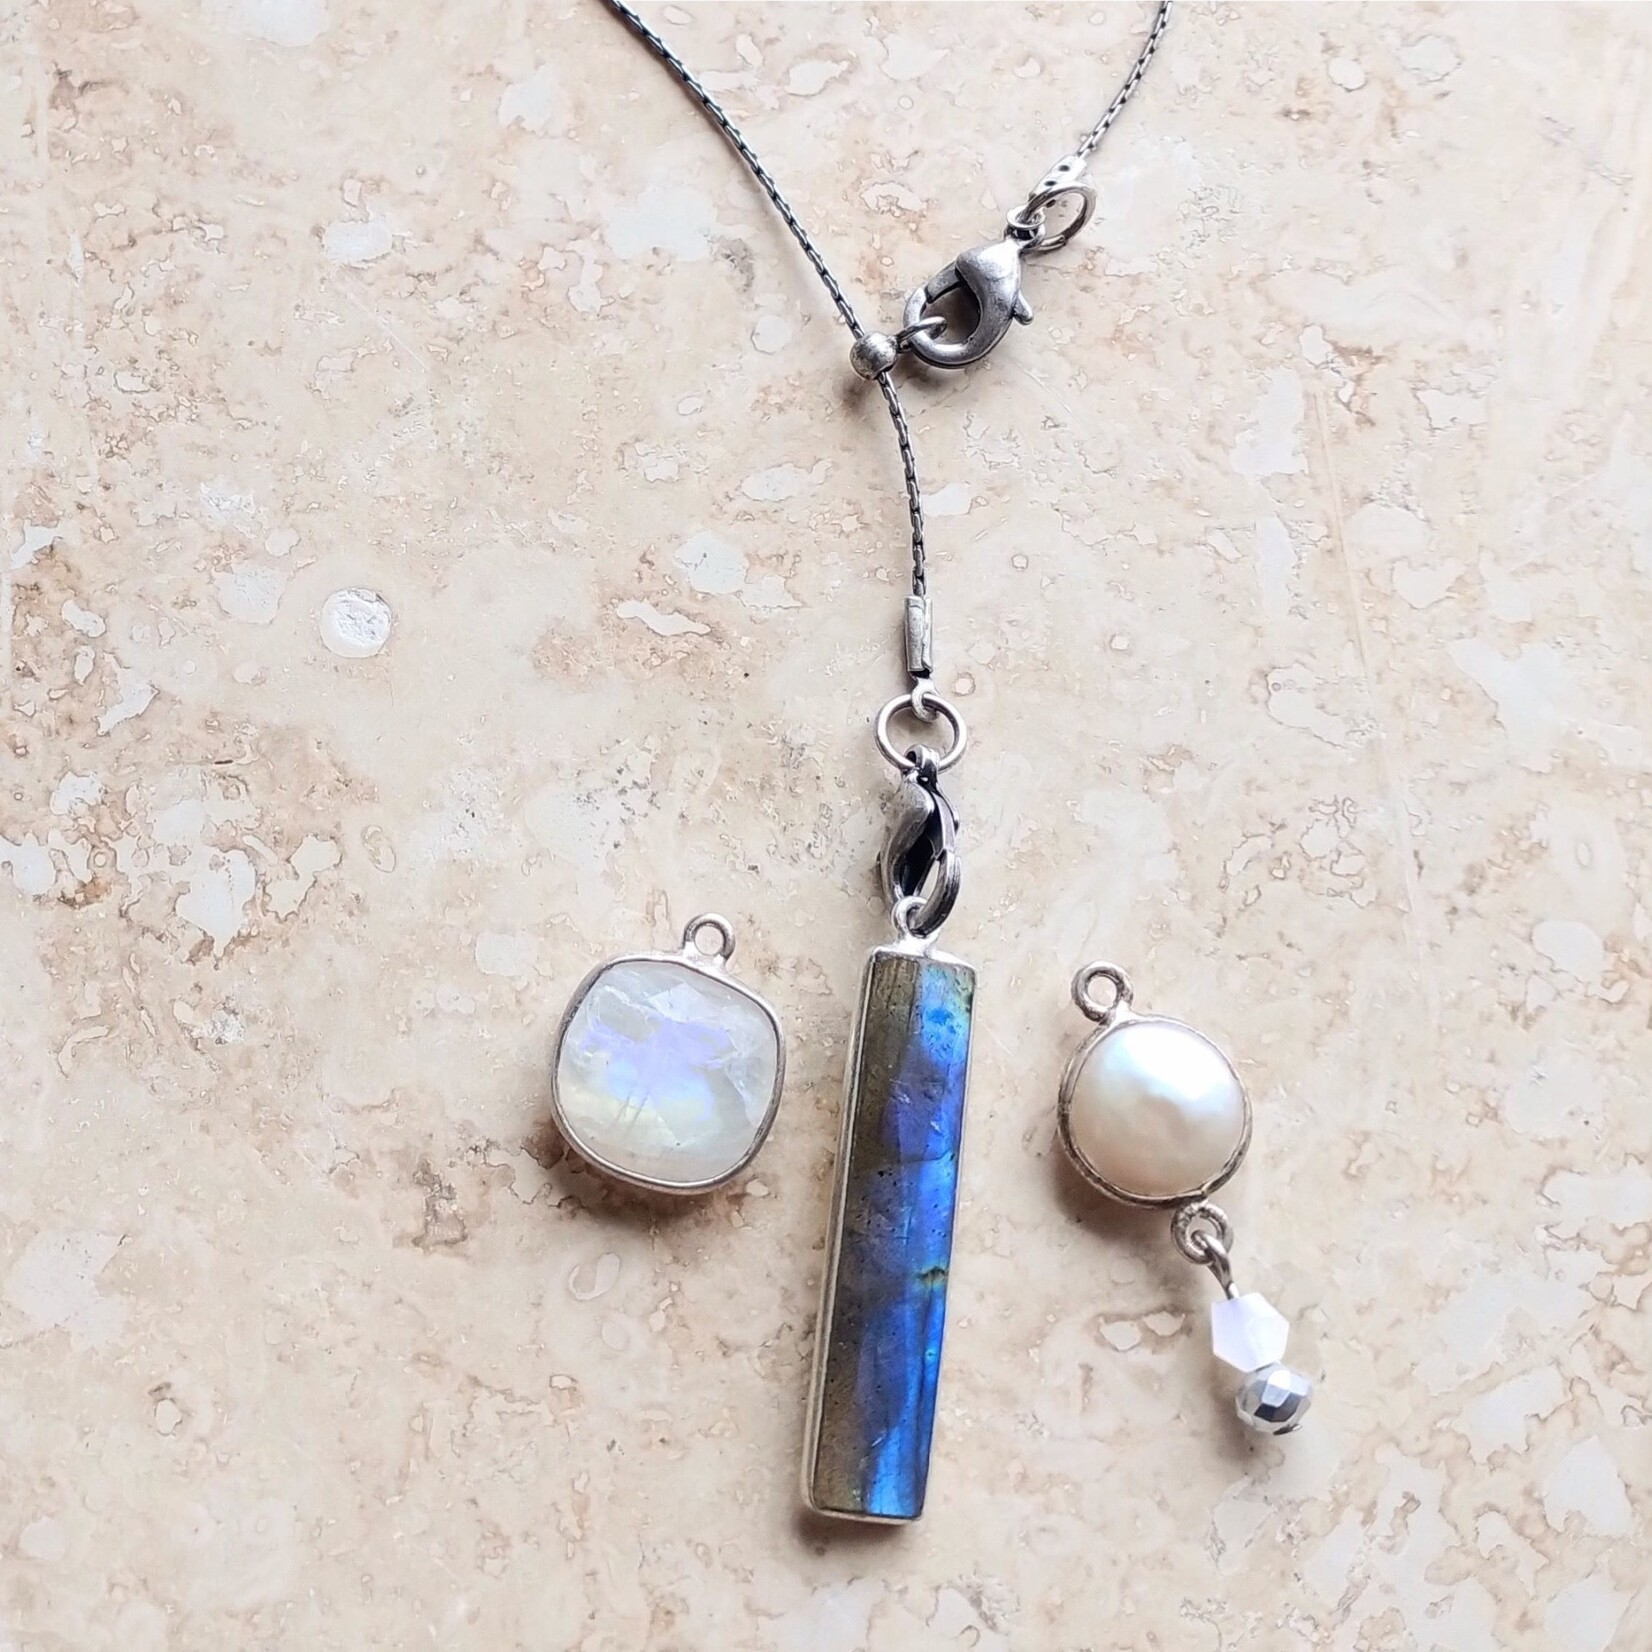
Both the 3mm and 4mm smart beads have a loop inside diameter of 2.3mm. This is perfect for attaching a clasp, as shown in the sample below.

How to use Smart Beads
Using smart beads is a breeze. Simply thread your chosen material through the small opening located at the center of the bead, ensuring you pass it through the bead itself and not the attached loop.

The beading chain and leather are rigid enough that no needle is required. More loose or woven cord like S-Lon, waxed cotton cord or silk may require a needle. Another trick you can use to thread the woven cords is to put glue at the tip for about 1/2 inch and allow to harden before threading in the Smart Bead. That way you don’t need to use a needle, but you’ll eventually want to cut off the glued end, rather than include it in your finished jewelry.
Fold-over Cord Ends and Cord End Caps
Fold-over crimps and cord end caps serve the purpose of adding a loop to your beading chain, so you can attach a clasp or jump ring. We offer fold over crimps in a 1mm size. While these are designed to use with our 0.7mm beading chain, they can also be used with a variety of stringing materials.


Cord End Caps are used to add a loop to the 1.25mm beaded chain and are available in these nickel-free platings: silver, satin gold, & antique brass. Use glue such as E6000 to attach to the end of the chain.
Attaching Fold-over Cord Ends
To attach a 1mm fold over cord end, first trim the end of your cord or chain so that it’s even and neat.

Using your flat nose pliers, gently bend one of the fold-over sides around the cord or chain to hold it securely in place. Once the fold makes contact with the chain, you should be able to let go of the chain with your thumbnail.

Once you secure the one side, give the chain a light tug make sure that its being held by the fold. Then you can fold over the other end.

Inspect your design to ensure that everything is secure and won’t just slip out when you tug on the cord.

Note: if the chain/leather/cord comes through the other side where the loop is, you can slowly bend the loop at the top away from the folds and snip off the extra chain/cord with flush cutters. You can then bend back the loop straight.
Attaching Cord End Caps
To finish 1.25mm beading chain with cord end caps, it’s easy! All you need to do is dip the beading chain into the E6000, rotate the chain inside of the bottle, pull out the chain, & insert into the cord cap.

After about 30 minutes, you can usually handle the glued pieces with care, but be cautious not to subject them to stress or pressure. Allow 24 hours for curing–Maximum bond strength may not be reached for up to 72 hours.
Afterwards, you are ready to attach a jump ring & clasp! Not sure how to do that? Check out our opening and closing a jump ring video in our how to section!
Tips & Troubleshooting for Fold-over Cord Ends
- To get a secure grip on the beading chain, the two sides of the fold-over cord end need to overlap on to each other. Make sure the first side is as tight as possible over the beading chain or cord before folding over the second side. This way they can overlap and have a tight grip on the chain or cord.
- If, after you have bent over the two sides, and the beading chain or cord comes out, then you can use crimping pliers to make it secure. Use the inner channel of crimping pliers to smash the two sides together. Then follow by smoothing with the outer “rounding” channel.

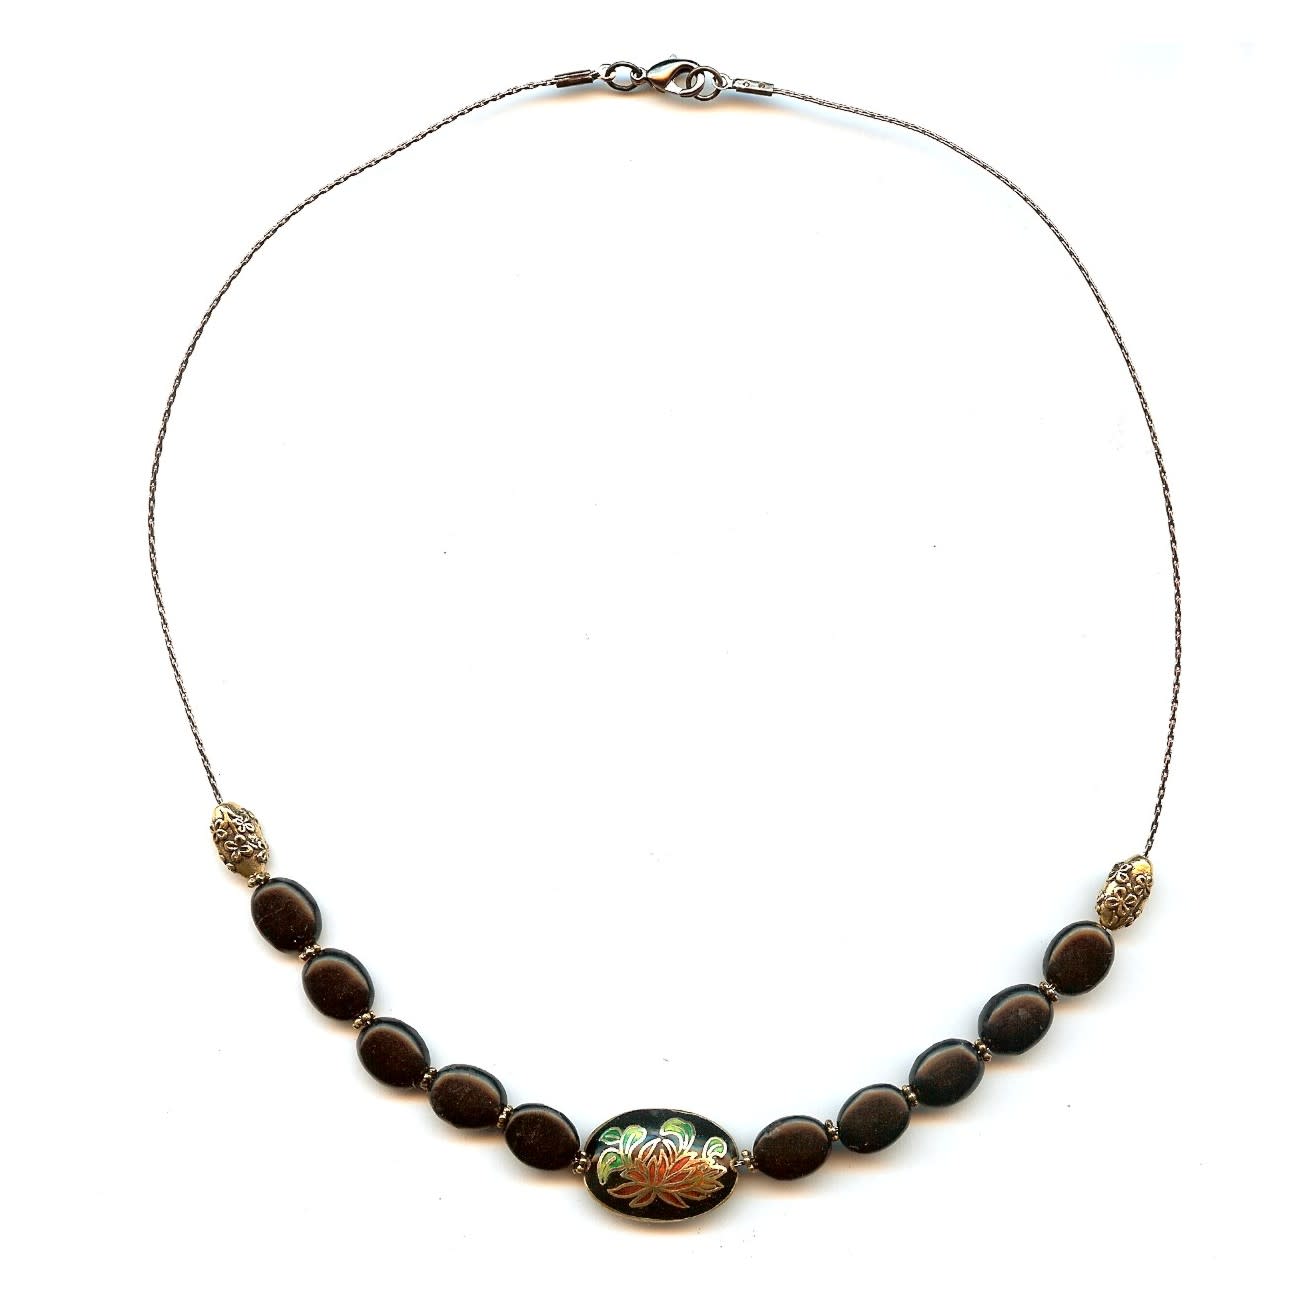
The result of this process is a piece of jewelry with an adjustable length. Whether you’re crafting a necklace that needs to adapt to various neck sizes or a bracelet that should snugly fit the wrist, Smart Beads allow you to slide them along the cord or chain to achieve the perfect fit. The silicone’s grip keeps the bead securely in place, granting you full control over the final look and fit of your creation. The cord ends allow you to attach a clasp to the beading chain.
The world of jewelry design is as boundless as your imagination, and with the right techniques and components, you can turn your creative vision into stunning, wearable works of art. Happy crafting!
